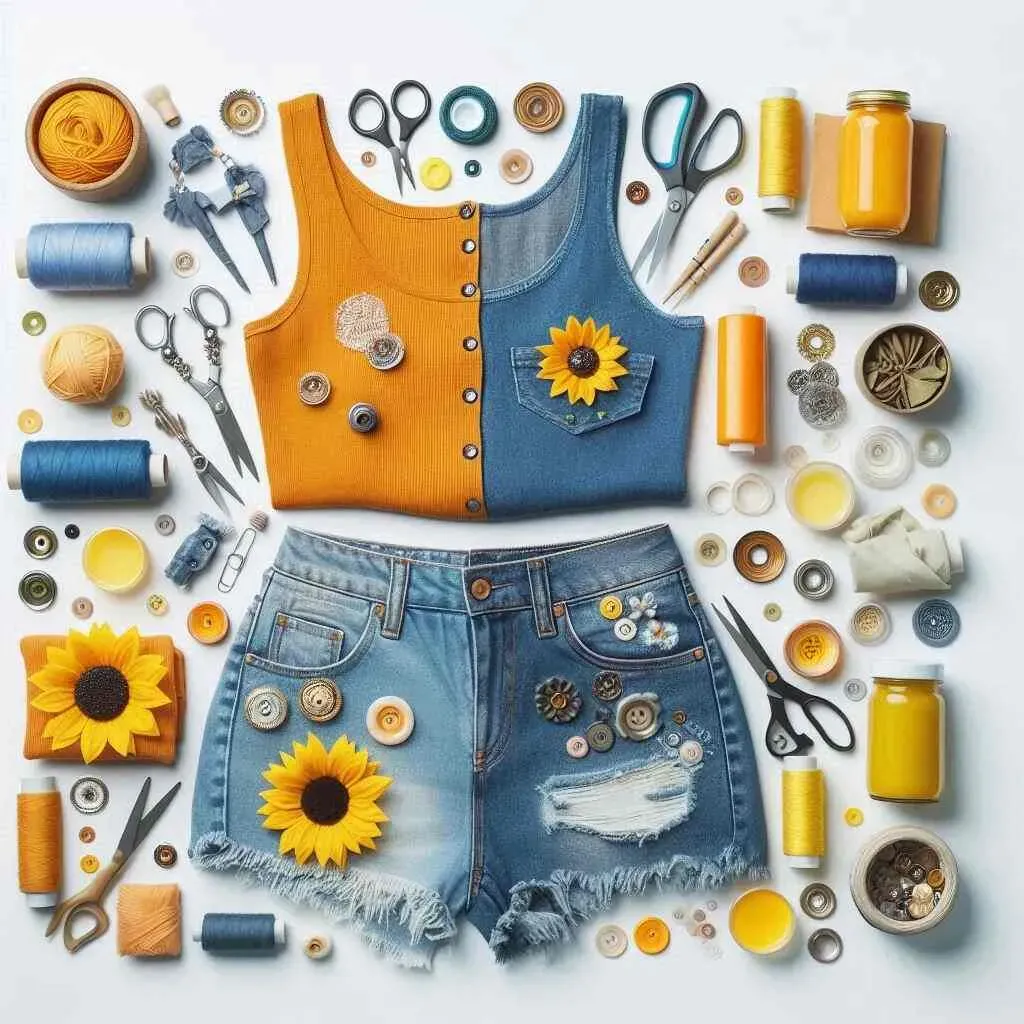
DIY fashion is a vibrant way to express personality, sustainability, and creativity without breaking the bank. One accessible doorway is custom embroidered patches, a tiny craft with big impact. With patch embroidery at home, you can transform a denim jacket, backpack, or tote into something uniquely yours. If you’re new to crafting, this guide introduces how to make patches at home step by step, from design to attachment. This DIY patch-making approach blends practical techniques with personal style, delivering wearable art you can wear with pride.
Beyond the basics, this craft taps into fabric art and wearable embellishments that let you narrate your style. Think of personalized badges, appliqué accents, and stitched emblems that attach easily to jackets, bags, or hats. Using simple stitches, stabilizers, and iron-on backings, you can achieve durable decorations at home. This approach blends design planning, color theory, and steady handwork to create one-of-a-kind accessories. As you explore these techniques, you’ll discover how easy it is to refresh a wardrobe with handmade patches that express your identity.
Frequently Asked Questions
What is DIY patch-making and what basic supplies do I need to start creating custom embroidered patches?
DIY patch-making lets you design and sew your own custom embroidered patches at home. To get started, gather fabric or felt for the patch, embroidery floss or thread, an embroidery needle or a sewing machine with a patch attachment, a hoop or stabilizer, scissors, and a backing (iron-on fusible, felt, or fusible web). Choose a simple shape to practice, such as a circle or shield, and test your stitches on scrap fabric before applying the patch to garments.
Which fabrics and backings work best for embroidered patches at home when doing patch embroidery at home?
For embroidered patches at home, start with sturdy fabrics like felt, denim, twill, or heavy cotton. Use a backing such as iron-on fusible, felt backing, or fusible web to protect edges and keep patch shape. Pair with a stabilizer or tear-away when using a machine to minimize puckering.
Which stitches are best for patch embroidery at home to create durable custom embroidered patches?
Try simple stitches: backstitch for outlines, satin stitch for solid color fills, and running stitch for fine details. Finish edges with a blanket stitch or zigzag to prevent fraying. If you’re using a sewing machine, explore zigzag, satin, and appliqué stitches to speed up the process.
How do I transfer a design for patch embroidery at home or how to make patches at home?
Transfer your design using print-and-trace with a water-soluble pen, iron-on transfer, or freehand drawing. Make sure lines are clear on the patch surface to guide your stitching, then transfer only as much as you need.
How should I attach patches to clothing for DIY patch-making to ensure durability?
For DIY patch-making, you can use iron-on backing for quick attachment or sew the patch with a tight running stitch or decorative edge stitch for durability. If the fabric is delicate, reinforce with a few small stitches around the edge to prevent peeling.
What common issues occur in patch embroidery at home, and how can I troubleshoot for DIY patch-making success?
Common issues include frayed edges, fabric puckering, uneven stitches, and color bleeding. Use a stabilizer, keep fabric taut in a hoop, and test tension on scrap fabric. If colors bleed, leave adequate space between color areas and allow inks or threads to set before continuing.
| Topic | Key Points | Notes / Examples |
|---|---|---|
| Introduction to DIY fashion and patches | – DIY fashion as expression, sustainability, and affordability – Patch embroidery as a simple, impactful entry point – Small stitches deliver big style; beginner-friendly activity |
Patches work on denim jackets, backpacks, totes, and more; ideal for starting with simple shapes |
| Materials and planning | – Gather basics: fabric/felt, embroidery floss/threads, needle or embroidery machine, hoop or stabilizer – Backing materials (iron-on fusible, felt, fusible web) – Scissors, chalk or water-soluble pen for transfer – Optional: blanket/satin stitches, zigzag foot – Have a garment or item ready for patching; consider easy starter shapes |
Keep a dedicated patch kit; start with a small practice patch to build confidence |
| Design ideas and transferring your pattern | – Choose meaningful symbols, motifs, or typography; mix fonts and colors for personality – Transfer methods: print-and-trace, iron-on transfer, or freehand drawing – Ensure lines are visible for accurate stitching |
Test transfer on scrap fabric; choose a method you’re comfortable with and keep lines clear |
| Stitches and techniques for patch embroidery at home | – Core stitches: backstitch (outlines/lettering), satin stitch (solid fills), running stitch (detail) – Fill stitches and couching for texture; edge finishing with blanket stitch or simple overcast stitch – For machines: zigzag, satin, and appliqué stitches; test on scrap fabric |
Practice stitches on scrap fabric before final patch to prevent surprises |
| Step-by-step: making a patch from idea to finished piece | 1) Select design and backing 2) Transfer the design 3) Outline the design 4) Fill the shapes 5) Finish the edges 6) Add backing and attachment method 7) Attach to garment (iron-on or sew-on) |
Choose sturdy fabrics and set expectations for attachment method during planning |
| Tips for durability and care | – Pre-wash and iron garments to prevent shrinkage – Use stabilizer/backing to reduce distortion – Wash patches inside out and air-dry if possible – For heavy wear, reinforce with extra stitches |
Avoid harsh washing cycles; consider extra security for high-use patches |
| Creative ideas and applications for patches | – Mix embroidery styles (bold satin fills with fine backstitch outlines) – Layer patches on denim jackets for a vintage look – Create patch ladders along sleeves or pockets – Use patches to cover repairs, turning mending into design |
Patches refresh wardrobes and enable signature DIY expression |
| Troubleshooting common issues | – Fraying edges: finish edges with a reliable stitch; add backing to reduce fraying – Puckering: tighten hoop and adjust machine tension; avoid excessive stitch density – Uneven stitches: re-thread, check tension, and re-stop/start cleanly – Color bleeding: use stabilizer and space colors apart |
Keep a small repair kit and scrap fabric for quick practice fixes |
| Inspiration and community | – Patches communicate personal style within the DIY fashion community – Share designs in maker groups or on social media to inspire others – Patch projects can involve backpacks, denim jackets, or totes |
Patches become stories of your creative journey and sustainable choices |