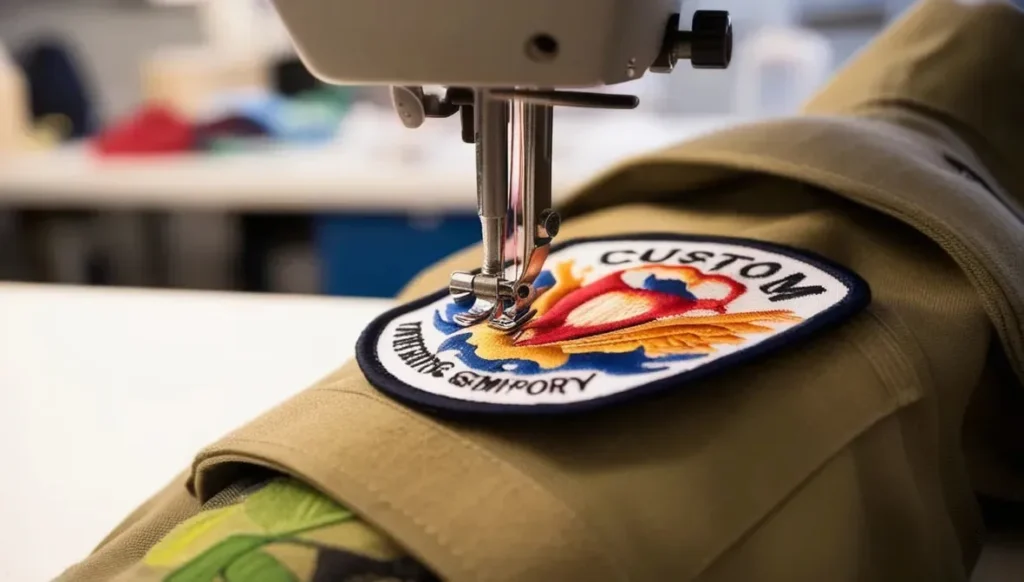
Understanding custom patch attachment methods is your first step toward turning bold designs into durable, everyday wear that survives frequent washing, rough handling, and long-term use while keeping the artwork crisp and the fabric comfortable; this choice influences how the patch sits on different textures, how it ages with wear, and how easy it is to maintain its look over months or years, whether you’re patching a jacket, bag, or active uniform. For a quick, beginner-friendly option, iron-on patches offer speed and a clean, low-profile appearance, though their durability can vary with fabric type, heat settings, and care routines, which makes it important to test on scrap fabric, follow backing instructions, and consider reinforcing with a light stitch if the item will be washed frequently. This guide compares how different fabrics, garment constructions, and use environments interact with patch materials, helping you predict performance across school uniforms, sports bags, workwear, and DIY projects, so you can anticipate stress points, edge wear, and potential delamination before you commit to a design or purchase supplies. Practical tips cover prep work, backing choices, and the subtle balance between adhesion, heat, and mechanical security, including prewashing and ironing tests, choosing compatible backing materials, and coordinating stitches or seam finishes to reduce edge fraying, lift, or curling, so your patch remains firmly in place without compromising fabric drape or comfort. By weighing fabric, use, care, and aesthetic goals, you’ll be empowered to select a method that aligns with your project—whether you favor a rapid update, a longer-lasting solution, or a flexible system that can be adjusted as your line or branding evolves—ensuring professional results that withstand routine wear and laundering while preserving color, texture, and shape.
Choosing the Right Patch Attachment Method for Your Fabric
Selecting a patch attachment method depends on fabric type, garment use, and care expectations. Dense materials like denim or canvas tolerate heat-based methods, while delicate knits benefit from gentler options. Understanding patch application methods helps balance appearance with durability, ensuring patches stay flat and secure after wash cycles.
Consider the life of the item: uniforms subjected to frequent washing may favor sew-on patches or a reinforced heat-activation approach, while display pieces might be fine with iron-on or adhesive backing patches. Always test on a scrap area and prewash fabrics to minimize shrinkage and surface sizing that can interfere with adhesion.
Iron-On Patches: Quick, Clean Results and Practical Tips
Iron-on patches use a heat-activated adhesive backing that bonds with pressurized heat from an iron or heat press. They’re popular for speed and ease, especially on T-shirts, caps, and lightweight jackets, giving a clean, low-profile finish that is ideal for vector designs or embroidery patches.
But durability varies with fabric and wash frequency. To maximize longevity, prewash the fabric, maintain even heat and pressure, and consider reinforcing the edges with a few stitches for high-friction areas or frequent laundering, especially on nylon or synthetic blends.
Sew-On Patches: Durability for Heavier Fabrics and Frequent Washing
Sew-on patches rely on thread and fabric interlock; this is the most durable approach for heavy fabrics like denim, canvas, and leather, and holds up well under repeated washing.
Choosing the right stitch and thread matters: use sturdy embroidery thread, set the machine to secure backstitch at corners, and consider backing stabilizers on delicate fabrics to prevent puckering and edge fraying.
Press-On Patches: Fast Applications with Professional Finishes
Press-on patches share a heat-activation concept but emphasize consistent pressure from a heat press or iron for uniform bonding across larger designs.
Test heat settings on scrap fabric, monitor for scorching, and consider adding edge stitching for extra security on items subjected to heat or abrasion.
Adhesive Backing Patches: Quick Updates Without Heat
Adhesive backing patches simplify updates without heat or sewing; they’re convenient for temporary branding or quick patches on display or fabric that cannot tolerate heat.
However, durability under wash and stretch is lower; reinforce with stitching along the border or apply a light seam to distribute stress and reduce edge peeling.
Custom Patch Attachment Methods: Combining Techniques for Maximum Durability
The best results often come from a thoughtful mix of patch attachment methods, aligning the strengths of iron-on, sew-on, press-on, and adhesive backing patches with fabric and use-case.
For example, lay a heat-activated base for fast coverage, then sew along the outer edge for long-term stability, and optionally reinforce with external stitching or edge finishing to withstand frequent washing and outdoor exposure. This approach embodies the concept of custom patch attachment methods.
Frequently Asked Questions
What are the main patch attachment methods for custom patches, and how do iron-on patches compare to sew-on patches?
For custom patches, the main patch attachment methods include iron-on patches, sew-on patches, press-on patches, and adhesive backing patches. Iron-on patches are quick and heat-activated, great for lightweight fabrics and a flat finish, but their durability may decline on stretchy or high-friction areas. Sew-on patches are the most durable, anchored by stitching, ideal for heavy fabrics like denim or canvas and frequent washing. You can boost longevity by reinforcing iron-ons with stitching or choosing sew-on patches for high-wear areas.
Are press-on patches a good alternative to iron-on patches, and when should I use them?
Press-on patches function similarly to iron-on patches but are designed for fast, clean results with a strong bond on certain fabrics. They often work with heat-activated or pressure-activated backing and can be applied using a heat press or household iron. Use press-on patches when you need a quick turnaround on thicker or textured fabrics, but always test heat settings on a scrap area and consider edge stitching for extra security on items that will be washed or subjected to friction.
When should I choose adhesive backing patches over heat-based patch application methods?
Adhesive backing patches are best when you want a heat-free option for quick updates, temporary branding, or fabrics that can’t tolerate heat. They’re convenient but typically less durable in washes and under stretch. For longer life, reinforce edges with a light stitch and avoid aggressive laundering. Adhesive backing patches suit projects where speed matters more than long-term wear.
What techniques maximize durability for patches on frequently washed fabrics?
For frequent washing, sew-on patches offer the best durability on heavy fabrics like denim or canvas. If using heat-based methods, reinforce with stitching around the edges and consider a backing stabilizer on delicate fabrics. Prewash fabrics to remove sizing, use appropriate needles and threads, and finish edges with zigzag or satin stitches to reduce fraying. Combining methods (base sew-on with a light heat-activation) can also help balance speed and longevity.
How should I layer multiple patches using patch application methods for a clean, durable look?
Layer patches from bottom to top on a stable base. Start with a base patch using iron-on or adhesive methods, then add top patches with sew-on or light edging stitches to lock edges and prevent shifting. Avoid bulky combinations where patches press against each other, and allow each layer to set before adding the next. Layering techniques can create depth while maintaining durability across fabrics.
What troubleshooting steps help fix patches not sticking, edges curling, or peeling across different patch application methods?
Troubleshoot by verifying fabric type and following the patch backing’s instructions. Test heat/pressure on a scrap piece, and ensure surfaces are clean and dry. If sticking fails, re-apply with correct temperature and time, or reinforce with stitching. For curled edges or peeling, tighten edge stitching, add a stabilizer behind delicate fabrics, and consider a light seam or edge finish to distribute stress across the patch.
| Patch Type / Topic | What It Is / When to Use | Pros, Cons & Quick Tips |
|---|---|---|
| Iron-On Patches | Heat-activated adhesive on the patch back; applied with an iron or heat press; quick and easy for a clean, flat finish on stable fabrics | Pros: fast, no sewing; strong initial adhesion on stable fabrics. Cons: may degrade on stretchy fabrics or with repeated washing/heat exposure. Tips: prewash fabric; use a clean, dry pressing surface; apply consistent heat and pressure; test on a scrap area; reinforce edges with stitching if frequent washing is expected. |
| Sew-On Patches | Patches secured by thread and fabric interlock; typically the most durable method, especially on heavy fabrics like denim, canvas, or leather | Pros: long-lasting; good for high-wear items; Cons: requires sewing skills/time; Tips: use a sharp needle; polyester or cotton embroidery thread; baste before final stitching; zigzag or satin edge stitching; consider backing stabilizer; use walking foot for heavy fabrics. |
| Press-On Patches | A broad category using heat- or pressure-activated backing; applied with heat source like a household iron or heat press; designed for quick, clean results on various surfaces | Pros: quick and clean; can bond well on certain fabrics. Cons: can require careful temperature/pressure control and may need edge stitching for durability. Tips: follow backing instructions; test on scrap; for larger patches use heat press; consider light stitching around edges for frequent washing. |
| Adhesive Backing Patches | Peel-and-stick patches that adhere without heat; quick options for temporary designs or heat-sensitive fabrics | Pros: no heat or sewing; easy to apply. Cons: durability tends to be lower; may peel with washing or stretch. Tips: ensure fabric is clean and residue-free; press firmly; reinforce edges with stitching for longevity. |
| Choosing the Right Method | A practical decision guide to align patch choice with fabric, use, and care | Key factors: fabric/material, intended use/wash cycle, aesthetics/edge finish, durability vs. speed, fabric care and environment. |
| Care & Maintenance Across Methods | Guidance that applies to all attachment methods to maximize patch life | Tips: turn garments inside out; wash cold or warm; gentle cycles; avoid high heat; air-dry when possible; reinforce peeling edges with light stitching; store flat to minimize stress on patches. |
| Troubleshooting Common Issues | Common patch problems and practical fixes | Examples: patches not sticking (check fabric fiber/content, heat/pressure, backing integrity); curled edges on sew-on patches (tighten edge stitching, consider seam finishes); peeling on curves (use curved stitches or stabilizers). |
Summary
Conclusion: Choosing the right attachment method for patches is a critical step that influences aesthetics, durability, and wearer satisfaction. By understanding the strengths and limitations of custom patch attachment methods including iron-on patches, sew-on patches, press-on patches, and adhesive backing patches, you can tailor your approach to fabric, usage, and care expectations. Whether you need a quick update to a bag or a long-lasting solution for team uniforms, the best results come from thoughtful method selection, proper application, and a bit of experimentation. Remember to consider fabric compatibility, washing and wear patterns, and whether you’ll be reinforcing patches with stitching for maximum durability. With these guidelines, you’re well on your way to achieving professional, durable, and stylish patches that stay firmly in place through countless wear-and-wash cycles.