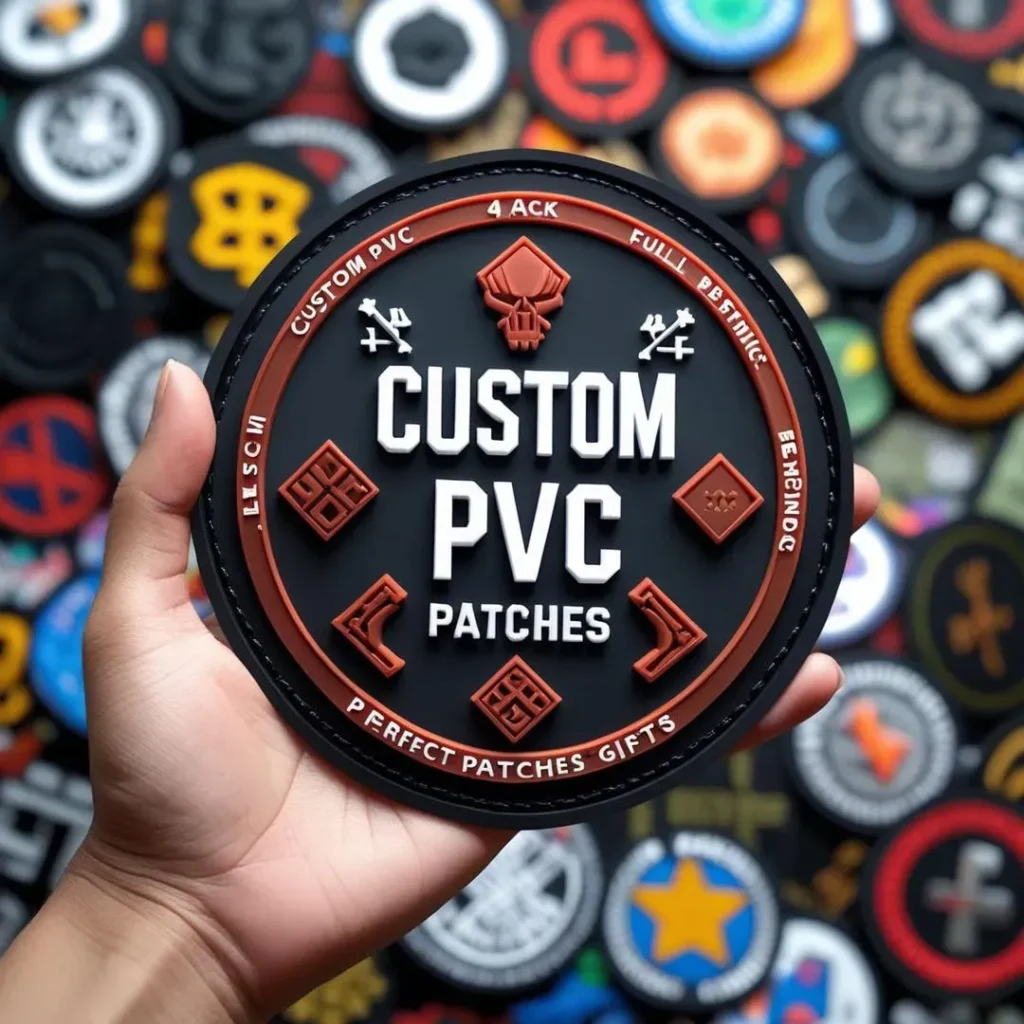
Creating custom patches is where art meets engineering, turning a simple idea into a wearable emblem that brands sports teams, clubs, and fashion lines alike, and setting the stage for a tangible product people wear with pride. From a rough concept to a polished custom patch design, the journey blends ideation, material knowledge, and production know-how to ensure every stitch tells the story you intend. Understanding the patch production process—from sketch to digitizing, fabric selection, backing, and final finish—helps you predict costs, timelines, and quality across batches. Whether you’re creating sew-on patches for a team uniform or embroidery patches for a streetwear line, the goal is consistency, durability, and a look that resonates. This introductory guide lays out practical steps, common decisions, and actionable tips to keep the creative spark alive while delivering reliable results, reducing revisions and helping teams stay aligned from concept to final sew-on piece for consistent, scalable results.
To frame this topic through related terms, imagine embroidered emblems, fabric badges, or sewn insignias that convey identity on apparel. These terms point to the same core workflow—concept ideation, vector art, material and backing choices, digitizing for machine embroidery, and meticulous finishing—yet the language shifts toward badge design and garment branding. LSI-friendly phrases like logo patches, cloth insignias, and decorative emblems help search engines connect concepts such as sew-on patches and the patch production process without stacking the same keywords. Whether readers search for embroidery patches or custom badges, the underlying practice is translating a concept into durable, visually striking fabric art that enhances a product’s story.
Ideation and Sketching: Defining the Concept of Creating Custom Patches
Every patch begins with a concept brief. The goal is to translate a brand, team, or hobby motif into a compact emblem that fits on a garment or accessory. During the ideation phase you should consider purpose and audience, garment compatibility, visual hierarchy, and color strategy. This stage is central to creating custom patches—the initial sketch defines the patch production process and helps prevent costly revisions later.
Rough sketches and mockups are developed to explore shapes, layout, and features. By converging on a clear concept early, you set the direction for subsequent design work, digitizing, and manufacturing, ensuring the final patch aligns with brand goals and production realities.
Design refinement and vector artwork: Turning sketches into production-ready art for Custom Patch Design
After selecting a concept, convert the sketch into clean vector art. This phase involves vectorization, color segmentation, typography handling, and layering to produce production-ready art for embroidery patches. A strong vector base helps ensure the design scales cleanly across sizes and fabrics.
Quality vector files reduce ambiguity in digitizing and provide a reliable blueprint for the patch production process, ensuring consistent replication across batches and simplifying color matching to brand specs.
Material selection and backing options for Embroidery Patches
Material choice profoundly influences the look, durability, and cost of a patch. Consider fabrics like twill, felt, or satin and backing options such as iron-on adhesive, sew-through backing, or no backing for hand-applied patches. When you plan for sew-on patches, you may still offer an iron-on option as a convenience.
Thread types and finishes also matter: polyester is standard for durability; rayon offers a softer feel but less colorfastness. Metallic and matte finishes can create distinctive effects, while border finishing (Merrowed edges vs. laser-cut edges) shapes the patch silhouette and longevity.
Digitizing for embroidery and production prep: From art to stitch file for Sew-On Patches
Digitizing translates vector artwork into stitch instructions for embroidery machines. This critical step defines stitch types (satin stitches for outlines, fill stitches for color areas, running stitches for detail), as well as underlay and stabilization to prevent gaps on dense patches.
Color separation and order, PMS color matching, and size-to-proportion checks ensure the design remains legible at the intended patch size. A well-structured digitizing file is a backbone of the patch production process, reducing rework and speeding up manufacturing.
Prototyping and sampling: The test run before full production
Prototyping is where theory meets reality. A patch prototype helps verify design fidelity, color accuracy, and production feasibility. During sampling you’ll create pilot patches to assess stitch coverage, edge finish, and color separation, and you’ll test backing and attachment methods on real fabrics.
Iterative sampling saves time and money by catching issues early and refining the design, color palette, or stitching plan before committing to large quantities. This stage is a hallmark of a robust patch production process and helps align stakeholders.
Production planning, quality control, and final assembly for reliable sew-on patches
With a proven prototype, plan full-scale production by coordinating embroidery machines, backing application, and finishing steps to optimize lead times. Establish color and size control thresholds, ensure consistent edge finishing, and define packaging and labeling requirements.
Compliance and safety checks, along with clear care instructions, finalize the process. A disciplined production plan ensures sew-on patches perform reliably across products while maintaining brand fidelity and delivering on-time results.
Frequently Asked Questions
In creating custom patches, how do ideation and sketching influence the patch production process?
Ideation and sketching lay the foundation for creating custom patches. A clear concept brief guides size, shape, color, and audience, which then informs vector art, digitizing, and embroidery setup. By sketching rough ideas and mockups up front, you reduce costly revisions later in the patch production process and keep timelines on track.
What is involved in turning a sketch into production-ready vector art for custom patch design and embroidery patches?
Turning a sketch into production-ready vector art involves vectorization to create scalable linework, color segmentation into embroidery-friendly blocks, careful typography decisions, and planning layering. Clean vector files become the blueprint for digitizing and embroidery patches, delivering consistent results in the patch production design.
Which materials and backing options are best for sew-on patches to balance durability and cost?
Choose a fabric base (twill, felt, or satin) that matches the patch’s use, and a backing that fits your needs—sew-through backing or no backing for sew-on patches, with iron-on as a convenient option. Select threads (polyester for durability, or rayon for softness) and a border finish (Merrowed edge or laser-cut) to balance aesthetics and cost.
How does patch digitizing for embroidery patches affect the patch production process and final quality?
Digitizing translates vector art into stitch instructions. Key elements include stitch types (satin for outlines, fill for color blocks), underlay for stability, color order, and Pantone color matching when precise tones are needed. A well-done digitizing file reduces rework and ensures consistent quality across the patch production process.
What should you test during prototyping and sampling to ensure high-quality embroidery patches?
During prototyping, test stitch coverage and edge finish, validate color separation, assess backing performance on target fabrics, and check legibility of any text at multiple sizes. Feedback from these samples helps refine the design, stitching plan, and the patch production process before full runs.
DIY vs professional production: when should you choose to create custom patches in-house versus outsourcing patch production process?
Consider volume, consistency needs, and expertise. DIY can work for small tests, but professional patch production offers scale, color accuracy, material consistency, and dedicated support. Outsourcing is often the better choice for larger orders to maintain brand fidelity and reliable lead times in the patch production process.
| Stage | Focus | Key Points |
|---|---|---|
| Introduction | Overview of patch creation | Creating custom patches is a blend of art and engineering; from sketch to sew-on, the process requires planning, design, material knowledge, and manufacturing expertise. The full workflow helps control quality, costs, and delivery timelines, with practical tips and common pitfalls shared at each stage. |
| 1) Ideation and Sketching | Concept definition | Define purpose/audience, garment compatibility, visual hierarchy, and color strategy; produce rough sketches, mockups, and a features list to guide design and digitizing. |
| 2) Design refinement and vector artwork | Production-ready vector art | Vectorize sketches, segment colors for embroidery, handle typography, plan layering/composition; high-quality vector files reduce digitizing ambiguity and serve as a blueprint for embroidery setup. |
| 3) Material selection and backing options | Fabric and backing choices | Choose base fabrics (twill, felt, satin); select backing (iron-on, sew-through, or no backing for hand-applied patches); pick thread types/finishes and border options (Merrowed or laser-cut edges) to balance aesthetics and practicality. |
| 4) Digitizing for embroidery and production prep | From art to stitch file | Digitize into stitch instructions; specify stitch types, underlay, and stabilization; plan color separation/order; use PMS color matching for precision; verify size and proportions to maintain legibility. |
| 5) Prototyping and sampling | Test run before full production | Create pilot patches, test stitching, edge finish, and color separation; evaluate backing and attachment method; check readability at multiple sizes; gather feedback and refine design/colors/stitches accordingly. |
| 6) Production planning and quality control | Scale from prototype to batch | Plan machine setup, production flow, color/size controls, edge finishing, packaging, and labeling; ensure compliance and safety; establish clear timelines to minimize delays. |
| 7) Final assembly and application | Sew-on patches in action | Attach patches with consistent stitching; ensure edge security; provide care instructions to maximize lifespan; patches should integrate with other patch types for cohesive branding. |
| 8) Cost factors, lead times, and practical considerations | Economics and timing | Consider patch size, complexity, color count, materials/backing, quantity, finish/packaging, and lead times; plan early to balance budget with impact and delivery. |
| 9) DIY vs professional production | Make-or-buy decision | Assess volume/consistency needs, required technical skills, time-to-market, and brand fidelity; professional production offers scale, color accuracy, material consistency, and support for larger, reliable outputs. |
Summary
End of table.