Mastering Embroidered Design opens a world where planning, precision, and artistry come together to elevate fabrics into wearable art. This journey blends practical skills with a thoughtful approach to machine embroidery techniques and hand embroidery mastery, ensuring you choose the right method for each project. Along the way, you’ll uncover embroidery design tips that guide layout, thread choices, and stitch selection for texture and depth. A solid grasp of color theory in embroidery helps you build harmonious palettes, while professional finishing brings polish and longevity to every piece. By combining these elements, you’ll develop a confident workflow that produces consistent, studio-quality results.
Viewed through an alternative lens, the discipline centers on precise stitching, smart planning, and the artistry of textile embellishment. Think in terms of layout management, stitch selection, and texture-building techniques rather than chasing a single method. When needed, you can blend machine-driven embroidery techniques with hand embroidery mastery to achieve speed where it helps and nuance where it matters. LSI-friendly topics like stabilizers, hooping, thread chemistry, color theory in embroidery, and finishing touches echo throughout the workflow. Ultimately, these concepts translate into professional finishing and presentation that endure through wear and wash.
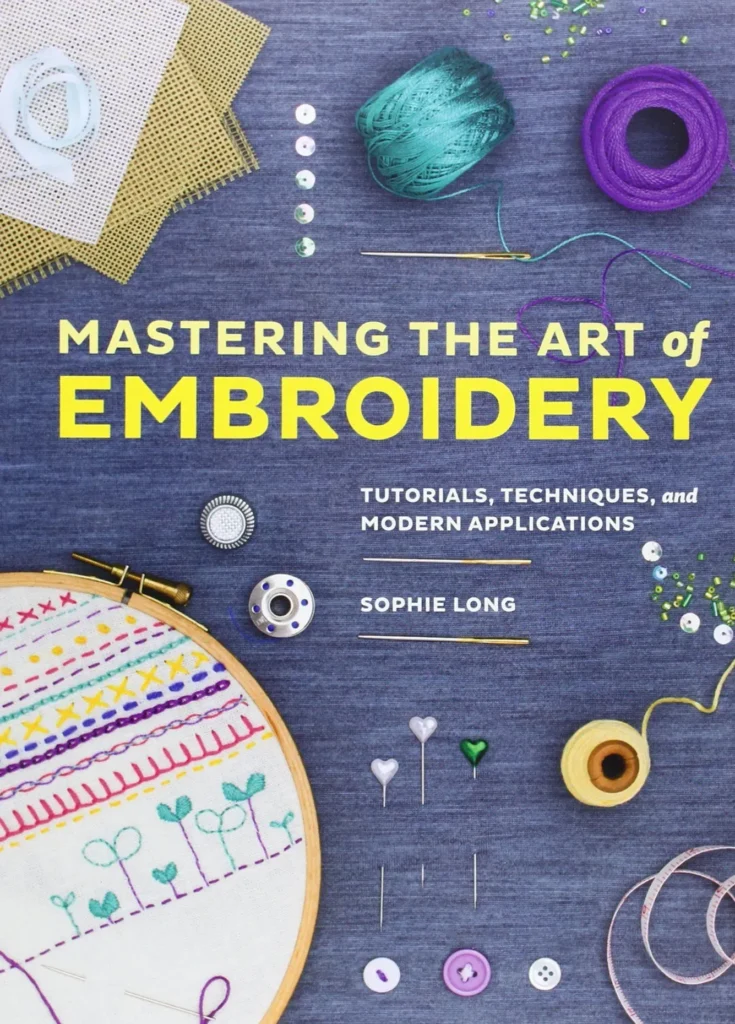
Mastering Embroidered Design: A Foundation for Precision and Texture
Mastering Embroidered Design serves as the cornerstone for achieving precision and texture in any textile project. By understanding how machine embroidery techniques and hand embroidery mastery intertwine, you can decide early which method will deliver the most accurate lines, crisp edges, and nuanced shading for a given fabric. This approach encourages a thoughtful balance between speed and texture, helping you map stitch density, stabilization needs, and thread choice before a single needle touches fabric. As you plan, consider how your design will flow across different fabric weights, and how stabilization supports or limits the visual impact of your embroidery. This foundation sets the stage for consistent results, whether you are producing quiet, refined motifs or statement pieces that demand technical finesse.
With a solid plan in place, you can translate the concept of Mastering Embroidered Design into repeatable steps. Start by visualizing the final piece and outlining the sequence of stitches that will bring it to life, from base fills to fine details. This foresight aligns with embroidery design tips that emphasize anticipation over improvisation, reducing misalignment and stitch creep. By choosing the right stabilizers and hooping method from the outset, you minimize puckering and fabric distortion, reinforcing professional finishing goals. The result is embroidery that reads as intentional art—consistent in texture, color saturation, and overall balance across multiple copies or exhibitions.
Balancing Machine Embroidery Techniques with Hand Embroidery Mastery for Rich Texture
In modern practice, designers often blend machine embroidery techniques with hand embroidery mastery to achieve a richer texture and a more tactile finish. Machines excel at precise repetition, symmetry, and crisp edges, making them ideal for base shapes, outlines, and dense fills that require uniformity. Yet the human touch remains essential for nuanced shading, subtle transitions, and irregular yet compelling texture. By recognizing when to press a design toward automation and when to inject hand stitching for emphasis, you create a more dynamic piece that leverages both strengths. This balanced approach is a core embroidery design tip that elevates projects beyond purely mechanical results.
A hybrid workflow can unlock professional finishing you can feel as you run your hands over the fabric. For example, you might machine-embroider the foundational motifs and then add hand-embroidered details to enrich texture and depth. The hand stitching can introduce gentle variegation and organic lines that break the rigidity of machine work, improving legibility and warmth. Adopting this blended strategy aligns with color theory in embroidery, where layered threads—from matte cotton to metallic accents—offer depth and contrast that machines alone can’t replicate. The result is a design that balances speed, precision, and personal touch.
Embroidery Design Tips: Harnessing Color Theory in Embroidery for Impact
Color is the lifeblood of embroidery design tips, shaping mood, depth, and readability. The color theory in embroidery guides you to construct palettes that align with lighting, fabric tone, and intended emphasis. Start with a core neutral base and build a controlled splash of color for focal points, ensuring contrast where it matters most. Utilizing color relationships—complementary, analogous, or split-complement schemes—can dramatically alter the perception of texture and form. Thoughtful color pairing also helps stabilize visual fatigue across larger areas, promoting a cohesive look across the entire embroidered piece.
Beyond choosing hues, consider how thread opacity and sheen influence color perception. Layering ribbons of pale and deep tones, or incorporating metallic accents sparingly, can yield believable shading and a tactile glow. Embroidery design tips include planning color transitions across passes to maintain even saturation and avoid muddy outcomes. Testing color combinations on a scrap fabric with similar tension and stabilizer will save time and ensure your final piece reads cleanly from a distance and holds up under display or wear.
Stabilizers, Hooping, and Fabric Behavior for Flawless Stitching
Stabilizers are your best allies when preventing fabric distortion, needle poke-through, and snagging that compromise stitch length. Understanding fabric behavior—whether woven, knit, or warp-stretch—helps you select tear-away, cut-away, or water-soluble stabilizers appropriately. A solid plan for stabilizer selection reduces puckering and edge ripple, especially on delicate fabrics, while supporting smooth satin fills and clean outlines. The choice of hoop size and tension further controls drape and drift; too tight an arrangement can distort the fabric, while too loose a setup invites misalignment. Mastery of these basics is a core part of professional finishing.
The practical side of hooping and stabilization involves testing on scraps, adjusting tension gradually, and verifying how your fabric responds to different stabilizers under similar stitch density. When dealing with stretch or knit fabrics, you may use multiple stabilizer layers or temporary stabilizers to preserve stitch integrity. Addressing fabric behavior early in the process helps prevent common issues like thread breaks, puckering, and misregistration, ensuring the final piece maintains consistent stitch alignment and a refined finish that reflects a professional standard.
Thread Selection and Color Strategy to Elevate Your Work
Thread choice directly affects texture, shine, and the perceived depth of your embroidered design. Explore a range of embroidery threads—polyester, rayon, cotton, and metallics—to understand their behavior with various fabric types and stitch patterns. For professional finishing, ensure you select threads that resist fraying, are colorfast, and maintain consistent sheen across passes. The right combination supports durable, vibrant results that endure handling and washing, which is essential for any piece intended for display, sale, or daily wear.
Color strategy goes hand-in-hand with thread selection. Build palettes that support tonal variation and highlight focal points. Use neutrals as a foundation and reserve brighter accents for emphasis, with shading achieved through progressive tone changes. Needle choice also plays a role in how color behaves under light; pairing the correct needle with your fabric weight helps prevent snagging and ensures clean color transitions. Thoughtful color planning, aligned with embroidery design tips, can dramatically improve legibility and the overall impression of your work.
Step-by-Step Workflow and Finishing for Longevity
A clear, repeatable workflow is essential for consistent results and supports ongoing improvement in Mastering Embroidered Design. Begin with fabric prep and stabilizer selection tailored to the design density, then transfer the pattern with precision to ensure center alignment. Set up the hoop with appropriate tension and test on scrap fabric before stitching full panels. A deliberate progression—from a light base layer to stronger detail passes—helps prevent bulk and puckering and contributes to a smooth, professional finish that feels deliberate rather than rushed.
Finishing is more than a final touch; it’s an integral part of embroidery that protects the work and enhances presentation. Use proper pressing techniques with a pressing cloth to avoid shine and distortion, followed by gentle washing care to reveal uniform texture and colorfastness. For display or sale pieces, consider framing, mounting, or backing that supports the embroidery without compromising stitch integrity. Maintenance for longevity—regular machine servicing, needle replacement, and proper storage of threads—ensures you can replicate professional results time after time, reinforcing the practical value of your craft.
Frequently Asked Questions
What is Mastering Embroidered Design and how can beginners begin this journey?
Mastering Embroidered Design is the integrated practice of planning, stitching, and finishing to create durable, beautiful embroidery. For beginners, start with fundamentals: learn about stabilizers, practice basic stitches on scrap fabric, and master transferring designs accurately. Build your skill gradually by focusing on simple motifs before tackling more complex patterns. Use embroidery design tips such as checking fabric tension, selecting appropriate threads and needles, and maintaining a clean workspace. With consistent practice, you’ll move from basic stitches toward refined results within Mastering Embroidered Design.
In Mastering Embroidered Design, how do machine embroidery techniques fit into your toolkit?
Machine embroidery techniques are a core part of Mastering Embroidered Design, offering speed, repeatability, and precise alignment for complex patterns. To leverage them, choose the right stabilizer, hoop fabric securely, and prepare the design for transfer or digitization. Calibrate thread tension and stitch sequence, and run tests on scraps before starting the final piece. Pair with appropriate thread choices and compatible needles, and plan color changes to minimize interruptions. In Mastering Embroidered Design, machine techniques excel for base shapes and uniform fills while you build texture in later passes.
What’s the difference between hand embroidery mastery and machine embroidery techniques within Mastering Embroidered Design?
Hand embroidery mastery and machine embroidery techniques both add value to Mastering Embroidered Design. Machines deliver speed and consistency, ideal for repeatable motifs and crisp edges, while hand embroidery mastery provides texture, nuance, and a handcrafted feel that machines can’t easily replicate. Many projects benefit from a hybrid approach: machine-embroidered foundations with hand stitched details for emphasis and texture. In Mastering Embroidered Design, decide early where machine precision is best and where a human touch will elevate the final result.
What embroidery design tips are essential for improving results in Mastering Embroidered Design?
Start with a clear concept and translate it into stitches using embroidery design tips: draft or sketch the layout, choose stabilizers wisely, verify transfer accuracy, and set appropriate stitch density. Choose threads and needles suited to the fabric, and test tension on scraps. Maintain consistent stitch length and feed rate, whether you’re using a machine or stitching by hand. In Mastering Embroidered Design, disciplined planning and routine testing reduce errors and raise the overall finish.
How does color theory in embroidery influence projects in Mastering Embroidered Design?
Color theory in embroidery shapes mood, readability, and depth, affecting everything from legibility to texture. Start with a restrained palette and use contrast to emphasize focal areas. Plan shading with tonal variations and layer different thread types to create subtle highlights. Consider fabric color, thread sheen, and light source when choosing colors. In Mastering Embroidered Design, thoughtful color choices guided by color theory in embroidery help your pieces read clearly and feel cohesive.
Why is professional finishing important in Mastering Embroidered Design, and how can you achieve it?
Professional finishing gives embroidery a polished, durable appearance. Begin with proper pressing using a pressing cloth and low heat to set stitches without shine. Test washing and care to ensure colorfastness, and consider framing, backing, or mounting that protects the design while showcasing it. Trim threads neatly, secure knots or backstitches, and store finished textiles flat or rolled to prevent creasing. In Mastering Embroidered Design, a deliberate finishing process elevates the result from good to professional.
| Aspect | Key Points |
|---|---|
| Focus keyword | Mastering Embroidered Design is the core focus guiding the content, title, meta description, and overall SEO strategy. |
| Related keywords | machine embroidery techniques; hand embroidery mastery; embroidery design tips; color theory in embroidery; professional finishing. |
| Post title | Mastering Embroidered Design: Pro Techniques for Results |
| Meta description | Mastering Embroidered Design: tips on machine embroidery techniques, hand embroidery mastery, and professional finishing for consistently flawless results. |
| Blog post – Introduction summary | Mastering Embroidered Design blends planning, precision, and practice; explains differences between machine embroidery techniques and hand embroidery mastery; guides readers toward clear, textured, long-lasting outcomes. |
| Essential tools & setup | Stabilizers (tear-away, cut-away, water-soluble); Hoops/frames; Threads and needles; Compatible software or transfer methods. |
| Design and planning | Visualize the final piece, color theory in embroidery, transferring the design, and planning size, fabric, and detail. |
| Stabilizers, hooping & fabric behavior | Stabilizer selection; hoop tension; fabric stretch management. |
| Thread selection & color strategy | Embroidery threads; color planning; needle selection. |
| Core techniques | Satin stitch; fill stitch; detail stitches; layering and shading. |
| Machine vs Hand embroidery mastery | Machine embroidery techniques offer speed and consistency; hand embroidery mastery provides nuance and texture; hybrids are common. |
| Step-by-step workflow | Prepare fabric/stabilizer; transfer design; set hoop tension; start with light base stitches; check tension; finish with secure knot/backstitch and light press. |
| Finishing, care & longevity | Pressing/steaming; gentle washing; framing/presentation; preservation. |
| Troubleshooting | Puckering; thread breaks; uneven stitches; color bleeding. |
| Maintenance for longevity | Regular service; replace worn needles; clean lint; store threads properly. |
| Conclusion – Path to consistently high-quality embroidery | Emphasizes ongoing practice and balance between technique, taste, and disciplined workflow; with right stabilizers, color theory, and professional finishing, you can achieve consistent professional results. |
Summary
Mastering Embroidered Design is a descriptive journey into turning fabric into art through planning, technique, and devoted practice. This guide covers essential tools, design planning, stabilizers and hooping, thread choices, color theory in embroidery, and the critical distinction between machine embroidery techniques and hand embroidery mastery. Readers will discover a step-by-step workflow, finishing tips, care routines, troubleshooting, and maintenance guidance that together enable consistently high-quality embroidery results. Whether you pursue speed and precision with a machine or the texture and nuance of handwork, this comprehensive approach helps you master embroidery design tips and color strategy while delivering professional finishing.